
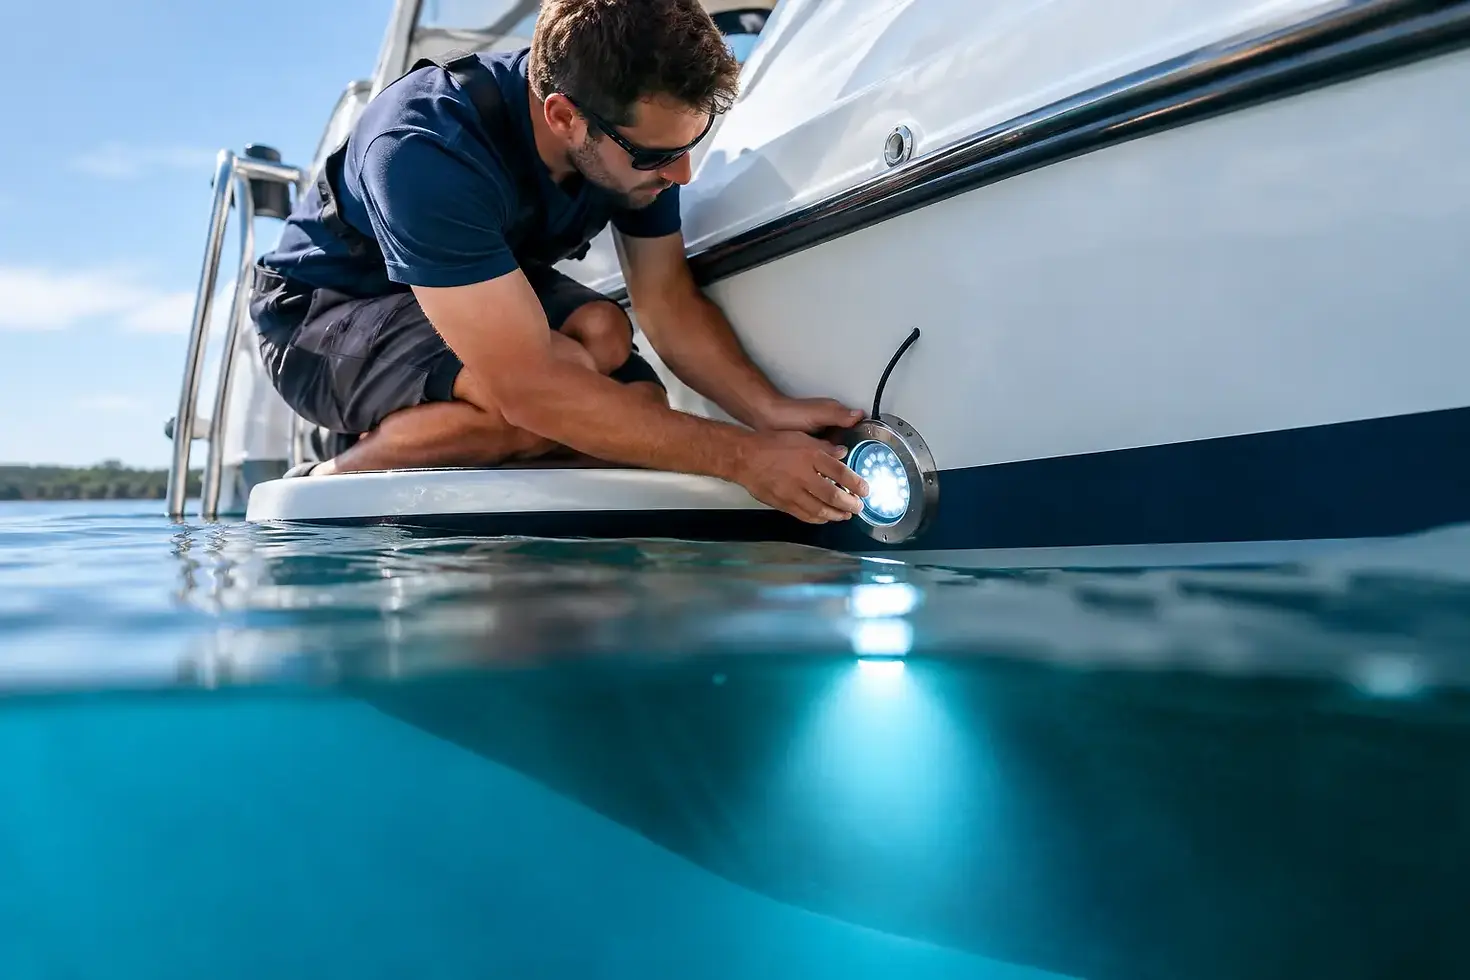
Installing Underwater Lights on a Boat Safely

A well-lit wake can transform a night berth, a quiet anchorage or the view from a swim platform. But installing underwater lights on a boat is not simply a matter of cutting a hole and connecting two wires. The fitting must suit the hull, the wiring must tolerate a wet, vibrating environment, and every penetration below the waterline needs to remain dependable long after launch day.
For Australian boat owners and trade installers, the best result comes from treating underwater lighting as a marine systems project. A premium light deserves a premium installation - one that protects the hull, electrical system and the investment in the vessel.
Choose the mounting style before choosing the light
The first decision is not colour or output. It is how the light will mount to the boat. Transom-mounted lights are generally the practical choice for retrofits. They sit externally on the transom, usually below the waterline, and require a cable penetration rather than a large hole through the hull. This reduces hull work and makes them suitable for many trailer boats, cruisers and yachts.
Flush-mounted lights sit within the hull surface for a cleaner, more integrated finish. They are often specified for new builds, refits or vessels where a minimal external profile matters. The trade-off is greater installation complexity: hull thickness, core construction, fairing, sealing and access behind the installation point all need to be assessed carefully.
Do not assume that a flush fitting is automatically better, or that a transom fitting is merely a compromise. A properly selected transom-mounted unit can provide exceptional visual impact with straightforward service access. A flush-mounted unit can be the right choice where hull lines, hydrodynamics and a high-end finish justify the additional work.
Assess the hull from both sides
Before marking any position, inspect the exterior and interior of the proposed area. Check for stringers, fuel tanks, steering gear, exhaust components, trim-tab hardware, transducers and inaccessible cavities. On cored fibreglass hulls, exposed core material must be properly isolated and sealed so moisture cannot migrate into the laminate.
The light also needs clean water around it. Avoid positions where prop wash, exhaust discharge, trim tabs or hull steps will constantly disturb the beam. On planing boats, check that the location remains submerged at rest and while the vessel is moving through its usual speed range. The manufacturer’s mounting template, clearance requirements and orientation instructions should always take priority.
Plan the electrical system, not just the cable run
Underwater lights operate in one of the most demanding electrical locations on a vessel. Salt water, vibration, heat, voltage drop and poor connections can shorten the life of even a well-engineered fitting. Plan the circuit before drilling or bonding anything to the hull.
Start with the light’s operating voltage, current draw and specified cable requirements. Calculate the route from the power source to the light, including the return path, and select marine-grade tinned copper cable sized for the distance and load. A cable that is too small may allow the light to operate, but voltage drop can reduce brightness, affect RGB control functions or create intermittent behaviour.
Each lighting circuit should have appropriately rated overcurrent protection located close to the power source. A dedicated switch or compatible lighting controller makes operation simple and supports fault finding later. For RGB systems, allow for the controller, signal cable requirements and a dry, accessible location for electronics. Keep control components away from bilge water, heat sources and locations where they cannot be inspected.
Where cables pass through bulkheads or structure, protect them from chafe with grommets, conduit or suitable glands. Support cable runs at regular intervals and keep them clear of moving machinery and sharp edges. Avoid household connectors and untinned automotive wiring. Marine-grade components cost more upfront because they are designed for the conditions a boat actually faces.
Installing underwater lights on a boat below the waterline
Any below-waterline penetration deserves disciplined preparation. Read the product instructions in full, confirm the hole size against the actual fitting, and dry-fit components before applying sealant. If there is uncertainty about hull construction or access, engage a qualified marine technician or boatbuilder before proceeding.
Mark the position with the boat level and, where possible, confirm the proposed location from inside the hull. A small pilot hole is often the safest way to verify clearance before cutting the final opening. Use the correct cutting tool for the hull material and work slowly to avoid chipping gelcoat or damaging surrounding laminate.
For fibreglass, carefully chamfering the outer gelcoat edge can help reduce the risk of stress cracks around the opening. For aluminium or steel hulls, the fitting material and fasteners must be compatible with the hull to limit galvanic corrosion. This is not an area for assumptions: consult the vessel builder or a marine professional where dissimilar metals are involved.
Use only the sealant specified or approved for the fitting and hull material. More sealant is not necessarily better. The aim is an even, continuous seal that fills the interface without contaminating threads, cable connections or mounting surfaces. Tighten fasteners progressively and evenly to the recommended torque. Overtightening can distort a housing, crack gelcoat or squeeze out too much sealant.
Allow the sealant to cure for its full specified period before launching. Rushing this stage is one of the easiest ways to create a leak that could have been avoided.
IP ratings matter, but installation still decides longevity
High ingress-protection ratings such as IP68 and IP69 provide valuable assurance that a light is engineered for demanding wet environments. They do not make poor cable entries, damaged housings or incorrect fastener sealing acceptable. The system is only as watertight as its weakest interface.
A quality Japanese-made underwater light can offer excellent optical performance and durable construction, but its service life still depends on correct fitment, stable voltage and regular inspection. This is why professional installers treat product specification and installation practice as equally important parts of the job.
Test before launch, then inspect after launch
Bench-test the lights and controller before final assembly where the manufacturer permits it. Confirm that each light illuminates, RGB colours respond correctly, dimming works where applicable, and the circuit protection is correctly rated. Do not run high-output lights out of water for longer than instructed, as some models rely on surrounding water to manage heat.
Once installed, inspect the inside of the hull around every cable gland and mounting point. After launching, check again for moisture or seepage before leaving the boat unattended. Reinspect after the first outing, then include the lights in routine maintenance checks.
At haul-out, clean marine growth from the lens and housing using methods approved by the manufacturer. Avoid abrasive pads, aggressive solvents and tools that can scratch the optical surface or compromise seals. Check fasteners, cable condition and any signs of corrosion or movement around the mounting area.
Match light output and colour to how the vessel is used
A bright white light can provide crisp water illumination around the stern and makes a strong statement at a marina berth. Blue produces the classic underwater glow many owners expect, while RGB systems offer the flexibility to change the atmosphere for entertaining, events or charter presentation.
More output is not always the answer. On a modest runabout, excessively powerful lighting can create glare off nearby surfaces and overwhelm the vessel’s proportions. On a larger yacht, multiple lights placed with a considered spacing can create a more balanced result than a small number of extremely bright units.
Think about viewing distance, water clarity and the typical location of the boat. Clear tropical water shows light differently from a silty river berth or a busy metropolitan marina. Colour choice and placement should suit the vessel’s real operating environment, not only the appearance of a product image.
When professional installation is the better choice
Experienced owners can complete a straightforward transom-mounted installation on an accessible fibreglass hull, provided they understand marine electrical practice and follow the fitting instructions precisely. A professional installation is usually the better choice for flush mounts, cored hulls, metal vessels, complex RGB control systems, commercial vessels and new-build projects.
For boatbuilders, dealers and marine professionals, selecting a dependable product line reduces call-backs and supports a better handover experience for the client. AquaIDEA’s Made in Japan underwater LED range is designed for boat applications where refined illumination, engineered durability and high-level ingress protection are part of the specification, not an afterthought.
The right underwater lights should look effortless once the sun goes down. That effect is created well before launch - through accurate placement, marine-grade wiring, careful sealing and the patience to test every detail properly.


Comments